Industry Guide
The restaurant photography shot list: what a restaurant actually needs
A practical way to plan one restaurant photoshoot around every place the finished images need to work—not just the next social post.
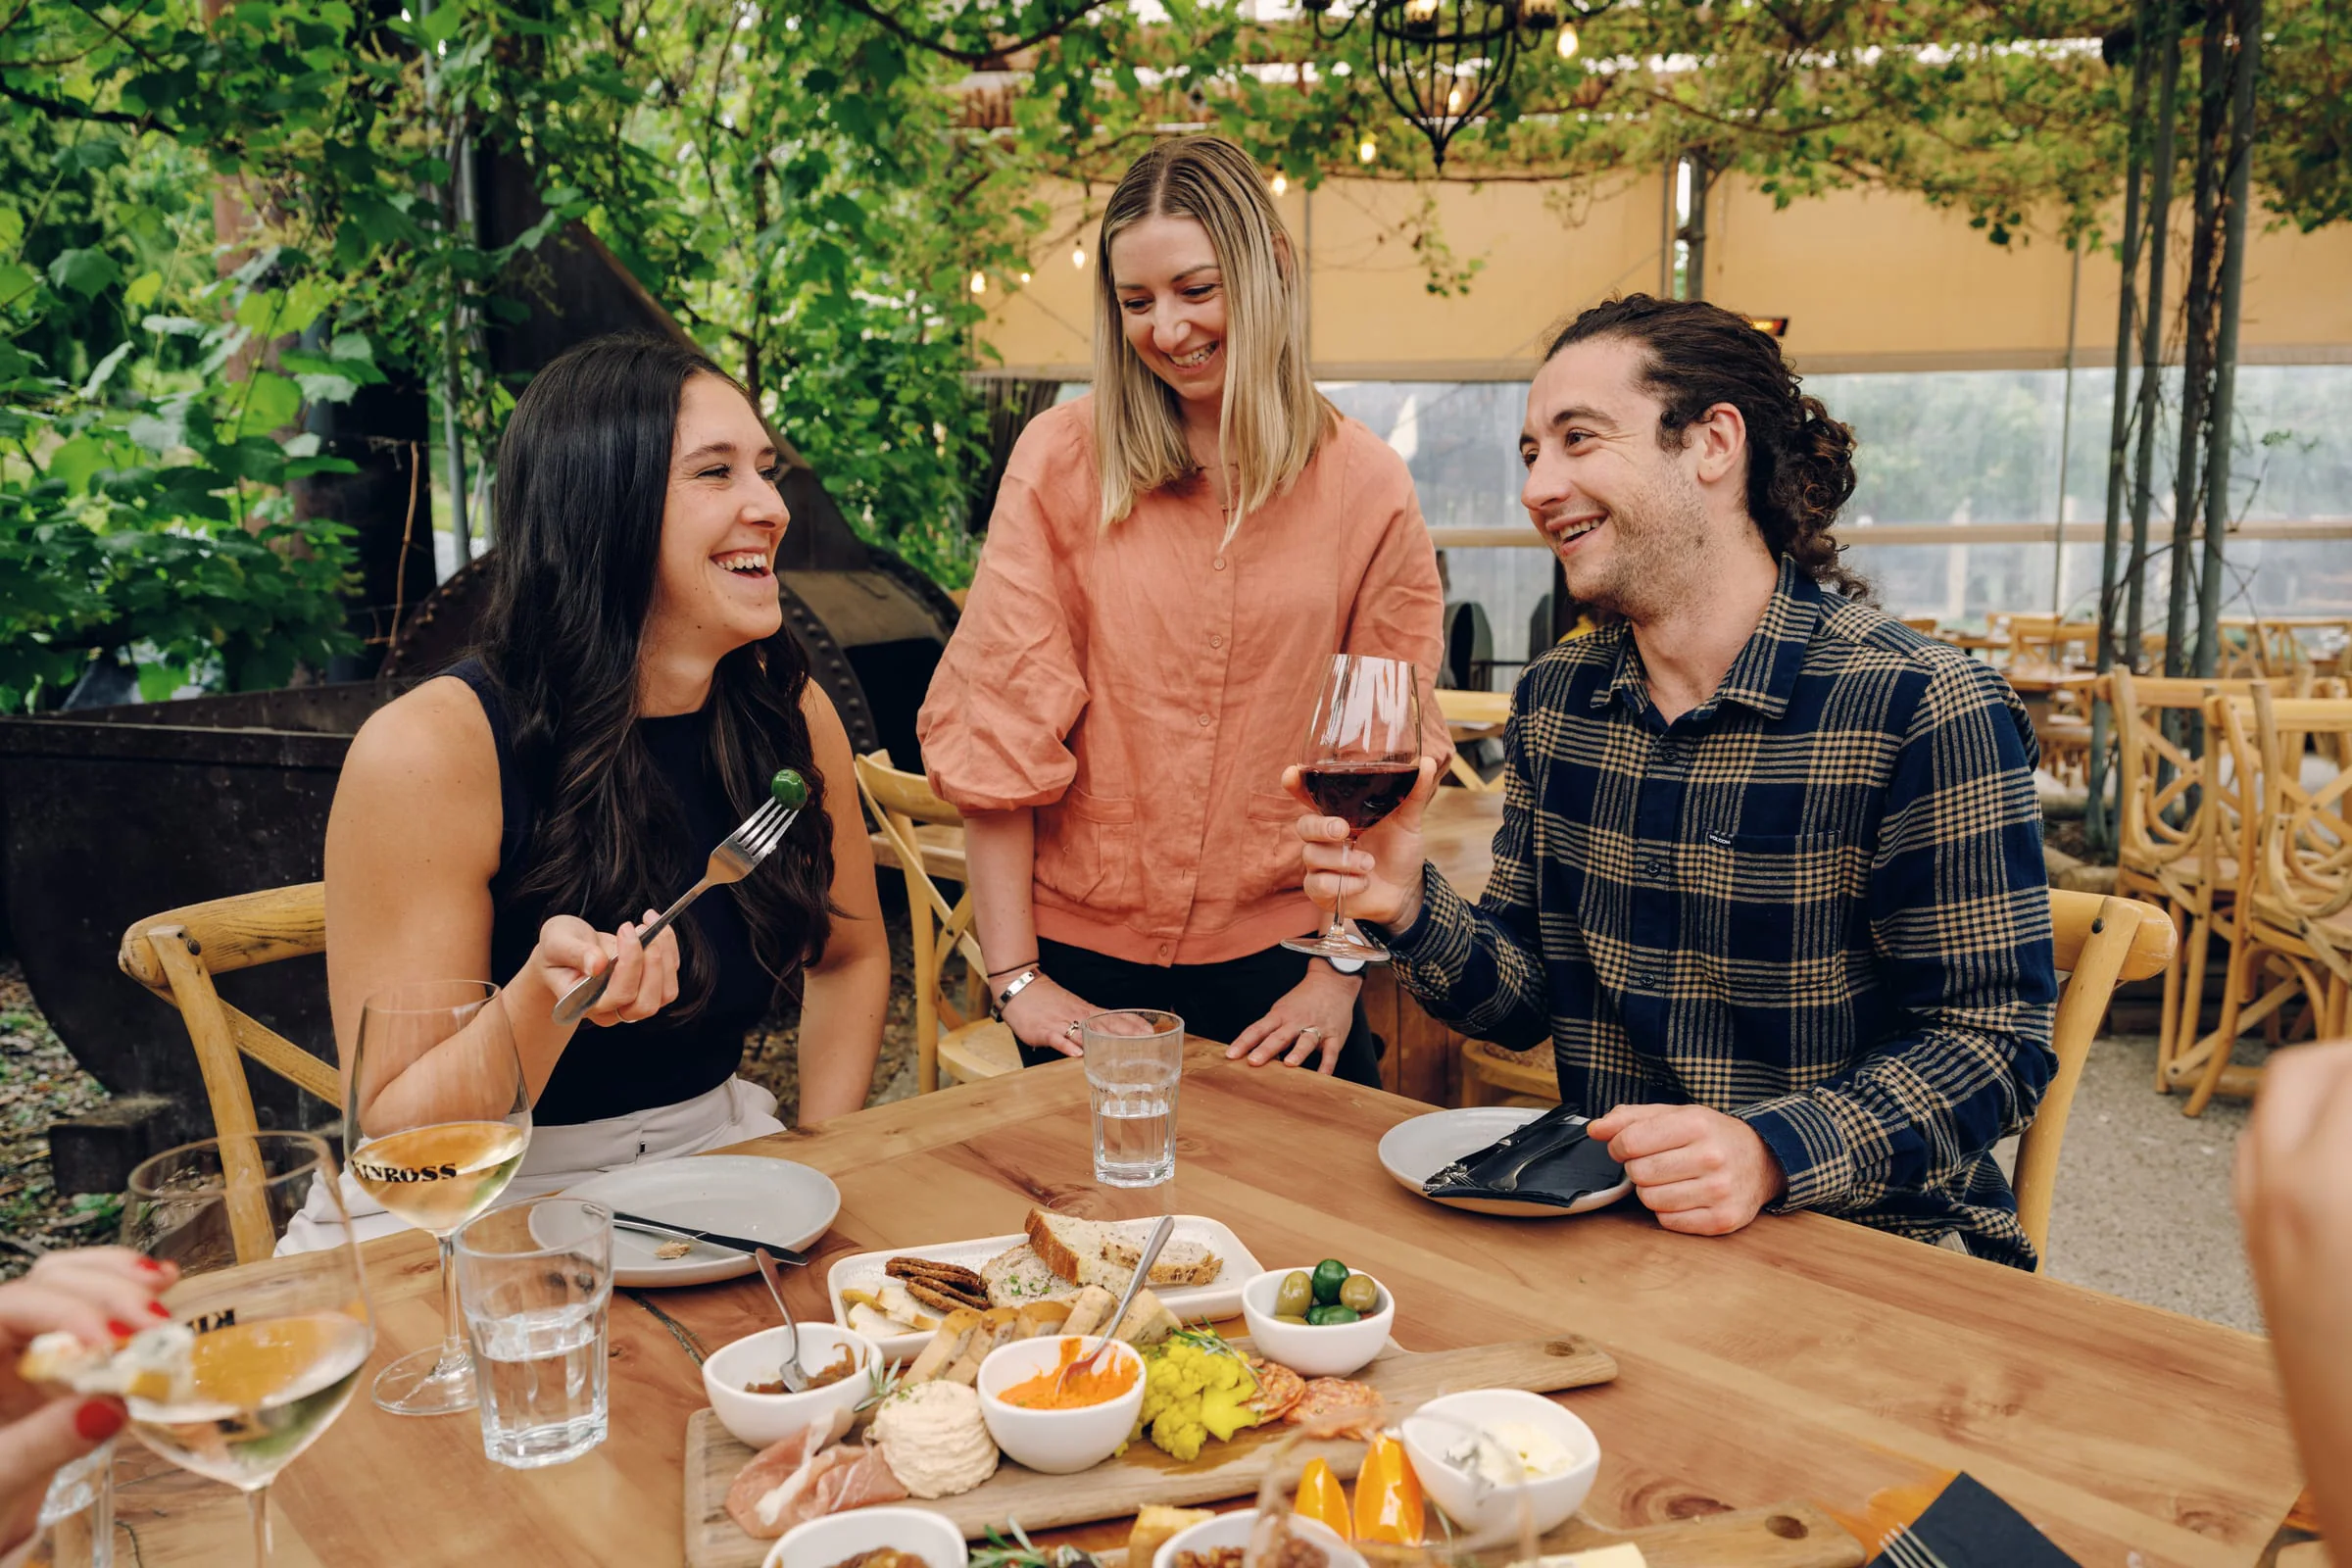
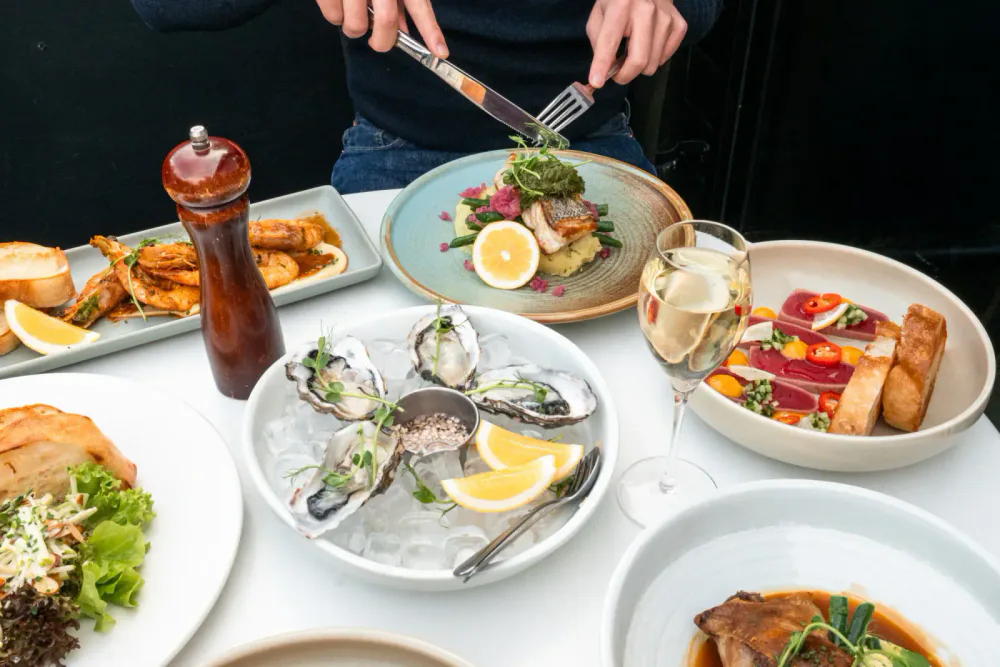
A restaurant does not need a folder full of attractive photographs. It needs a working image library: enough range to explain the food, the room, the people and the experience wherever a customer happens to find the business.
That distinction matters. The horizontal photograph that gives a website room for a booking button may be useless as a delivery-app item image. A clean photograph of one dish may be right for an online menu but say almost nothing about the atmosphere of the dining room. A busy table scene can make a strong campaign image and still fail a platform’s moderation rules.
The useful question is not “How many dishes should we photograph?” It is “Where will the images be used, and what does a customer need to understand in each place?”
This guide turns that question into a practical restaurant photography shot list. It is written for restaurants, cafés, bars and hospitality teams planning a professional shoot in Christchurch or elsewhere in New Zealand.
Start with uses, not dishes
Before listing a single photograph, write down every place the finished library must work. A typical restaurant may need images for:
- the website homepage, menu, about and booking pages;
- Google Search and Maps;
- direct-booking and restaurant-discovery profiles;
- Uber Eats, DoorDash or another ordering platform;
- media releases, reviews and local publications;
- organic social posts, paid campaigns and email;
- printed menus, window graphics, signage or a capability document;
- recruitment and staff profiles.
These are not interchangeable boxes. Each has its own crop, scale, context and useful lifespan. Planning the destinations first tells the photographer which scenes need horizontal and vertical versions, which dishes require isolated item coverage, where negative space is useful and which parts of the restaurant cannot be missed.
It also prevents the common result: twenty close photographs of food, no recognisable exterior, no photograph of service, no useful website banner and nothing that explains what being there feels like.
The complete restaurant photography shot list
Not every venue needs every frame below. Treat this as a planning inventory, then remove anything that does not serve a real use.
1. Arrival and exterior
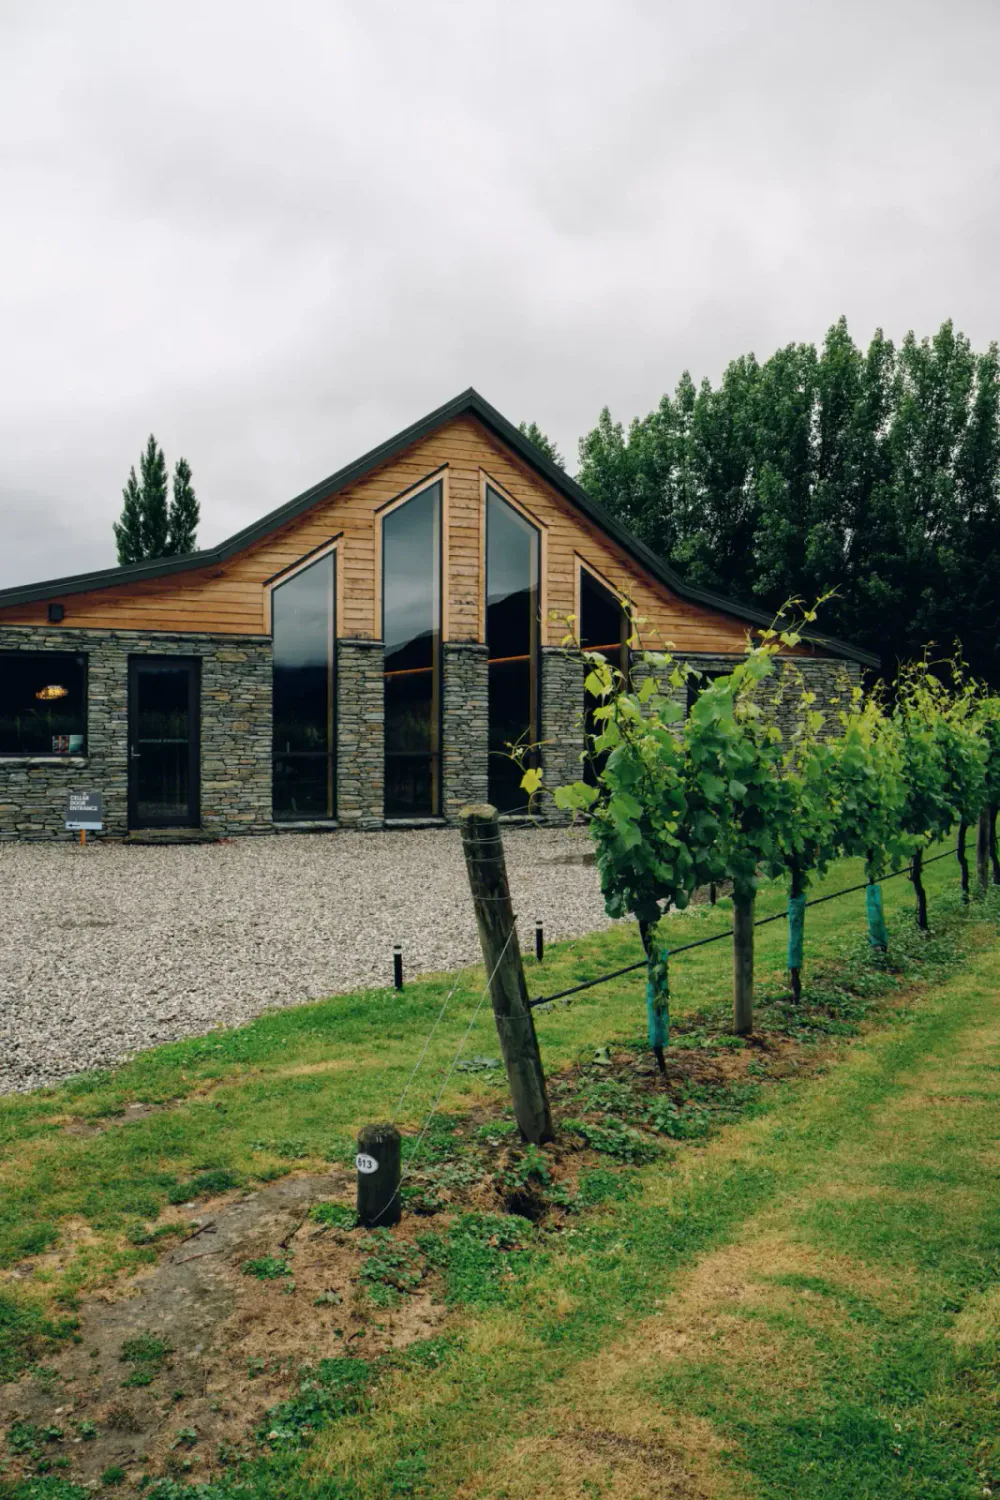
The exterior is practical information. It helps a first-time customer recognise the building, find the entrance and understand what arrival will be like.
Cover:
- the main approach and visible signage;
- the entrance from the direction most customers arrive;
- a wider street view when the frontage is easy to miss;
- outdoor seating, courtyard or garden areas;
- the entrance after dark if evening trade is important;
- useful accessibility details where appropriate.
Google’s current Business Profile guidance recommends at least three exterior photographs and suggests covering the directions customers may approach from. That is a discovery and recognition need, not a reason to upload three near-identical façades. Choose views that remove uncertainty.
2. Space and atmosphere
Interiors answer questions diners rarely put into words. Is the room intimate or open? Formal or relaxed? Bright at lunch or low-lit at dinner? Can a group sit together? Is there a bar, courtyard, private room or view worth choosing the venue for?
A useful set usually includes:
- one wide establishing view of each important dining area;
- medium views showing table spacing and the relationship between spaces;
- the bar, counter, pass or open kitchen;
- private dining, outdoor seating and other bookable areas;
- design details that are genuinely distinctive;
- the room empty, when clarity matters;
- the room in use, when atmosphere matters.
Photographing an empty room and a live room solves different problems. The empty view explains layout. The occupied view shows energy, service and scale. Neither should pretend the restaurant is something it is not.
3. Food and menu breadth
Begin with the dishes that carry the business rather than trying to photograph every item by default.
Prioritise:
- signature dishes people associate with the restaurant;
- reliable best sellers;
- dishes that explain the breadth of the menu;
- visually important dietary or service categories;
- high-value dishes that customers consider before booking;
- seasonal items with a realistic marketing life;
- shared plates or set menus as they are actually served;
- desserts, sides and small plates when they matter to the offer.
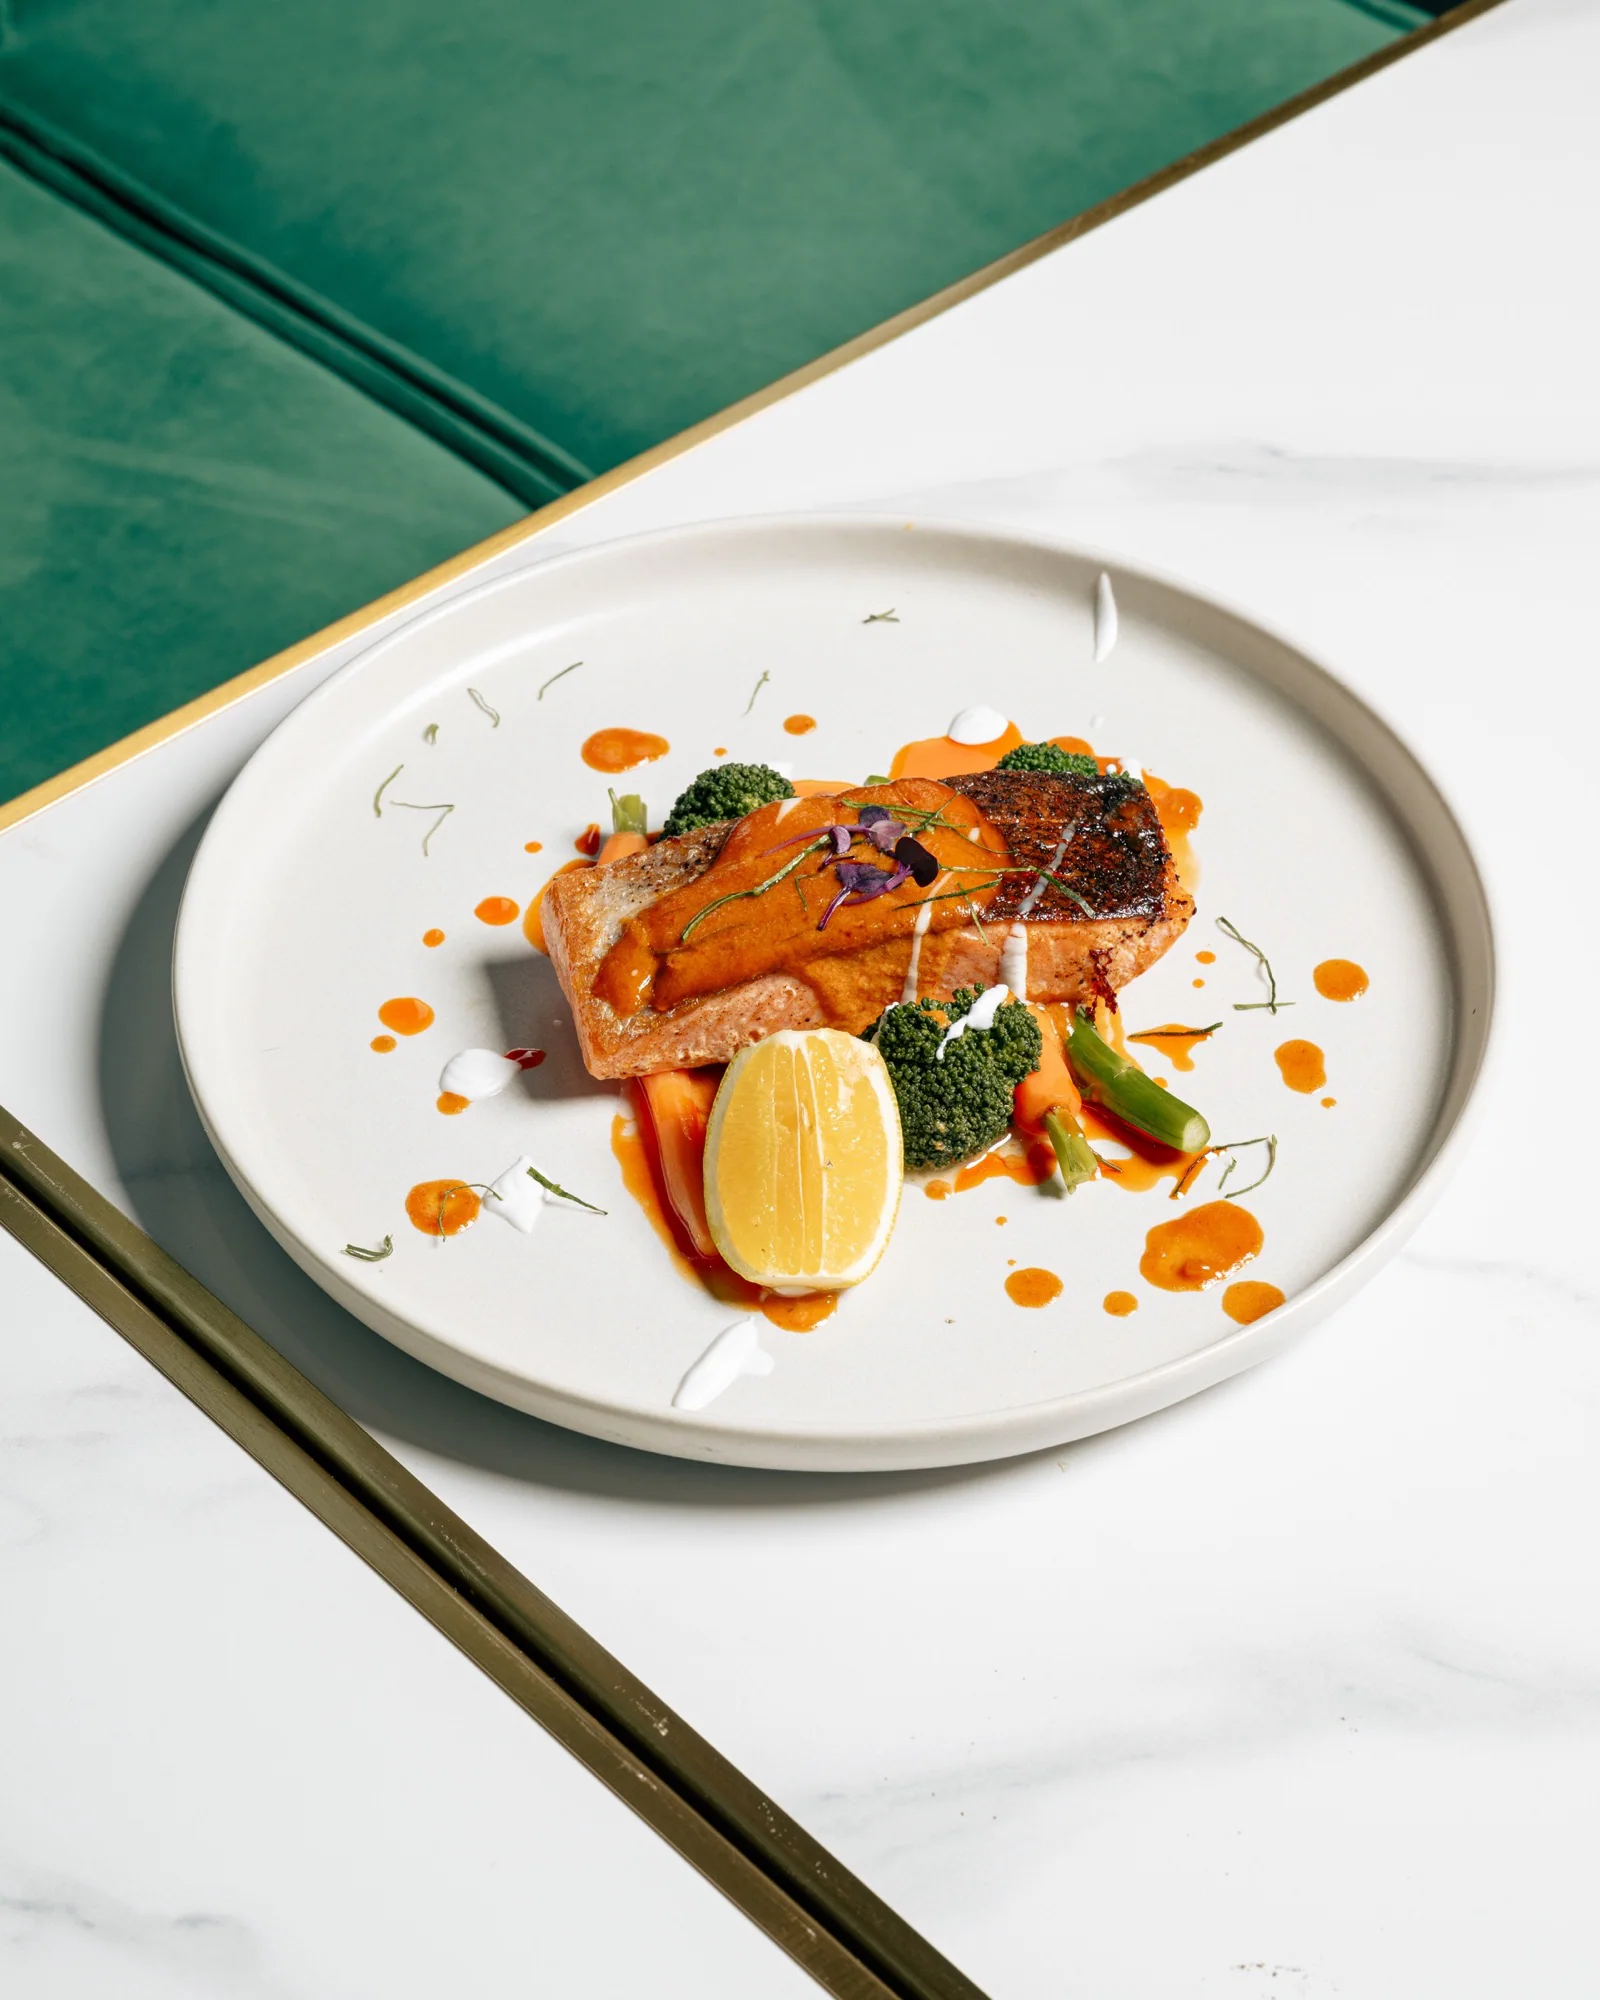
For each priority dish, decide whether it needs an isolated menu image, a more atmospheric brand image, or both. An isolated item photograph should make the portion, ingredients and presentation easy to read. A brand image can include hands, table context, other dishes and a stronger sense of occasion.
The food should still be the food a customer receives. Good preparation, clean plating and deliberate light are useful. Replacing the actual portion with an idealised version is not.
4. Drinks
Drinks are often left until the end of the schedule and photographed as an afterthought. That misses an important part of the offer for bars, restaurants, cafés and venues.
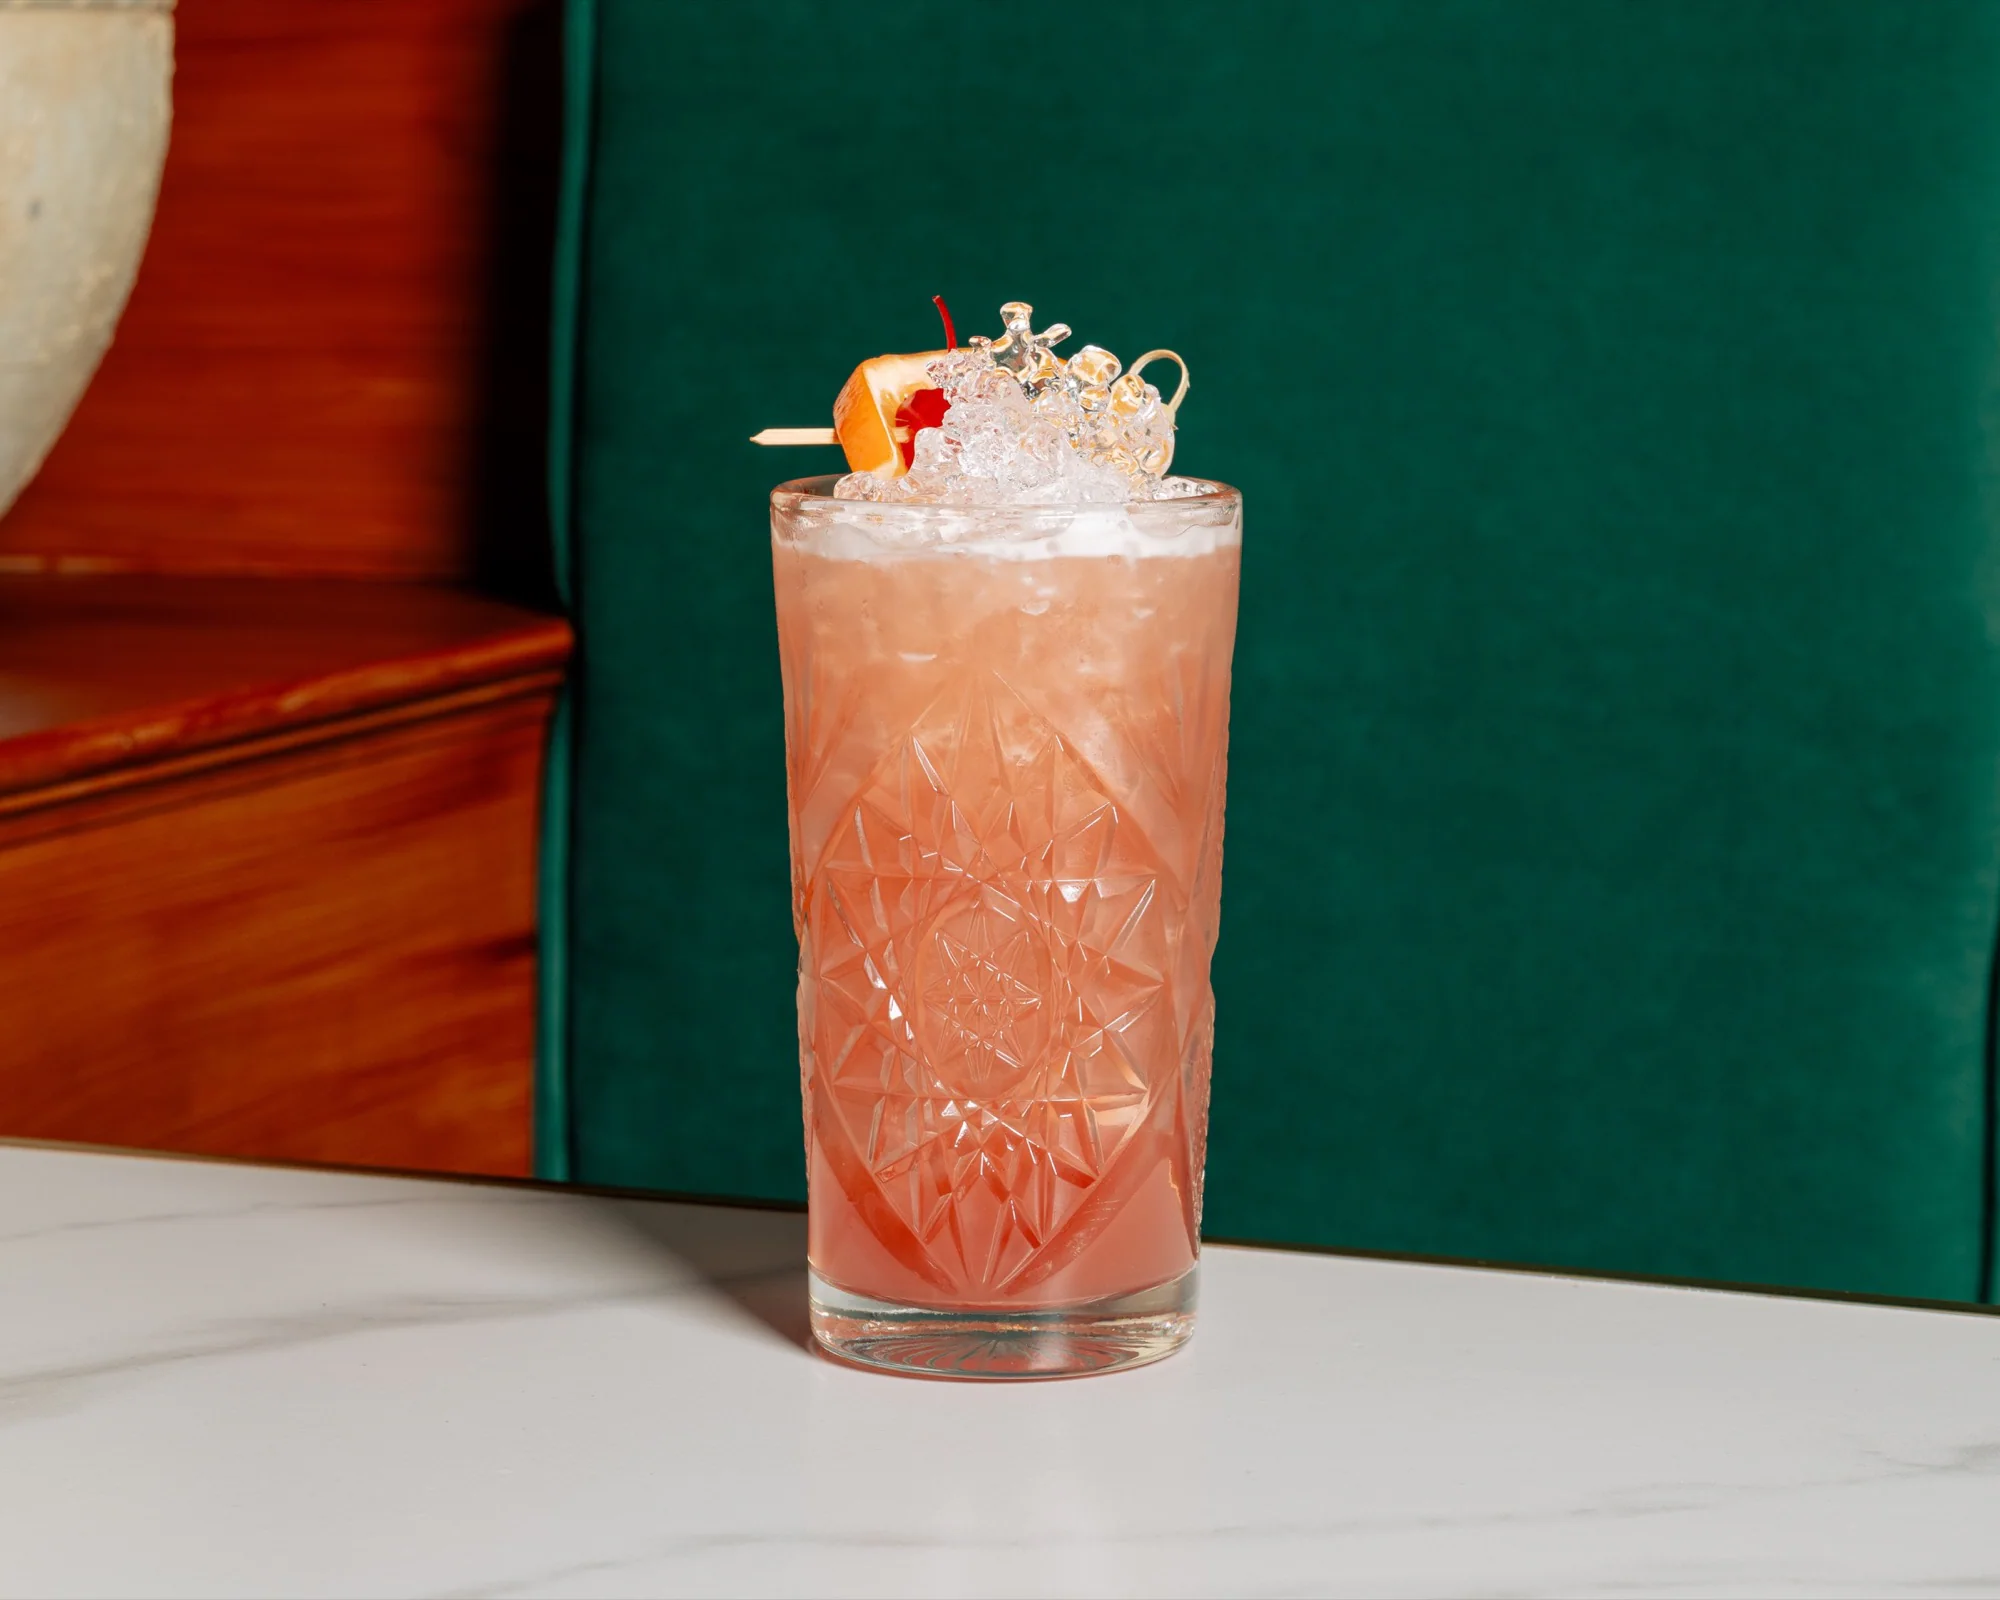
Consider:
- signature cocktails and non-alcoholic drinks;
- wine service and relevant local producers;
- coffee preparation and the finished serve;
- a useful range rather than every near-identical drink;
- hands pouring, garnishing or serving;
- drinks in the part of the venue where they belong.
Glassware, reflections, melting ice and short-lived garnishes reward planning. Have recipes, glassware and ingredients ready before the drink is made.
5. People and process
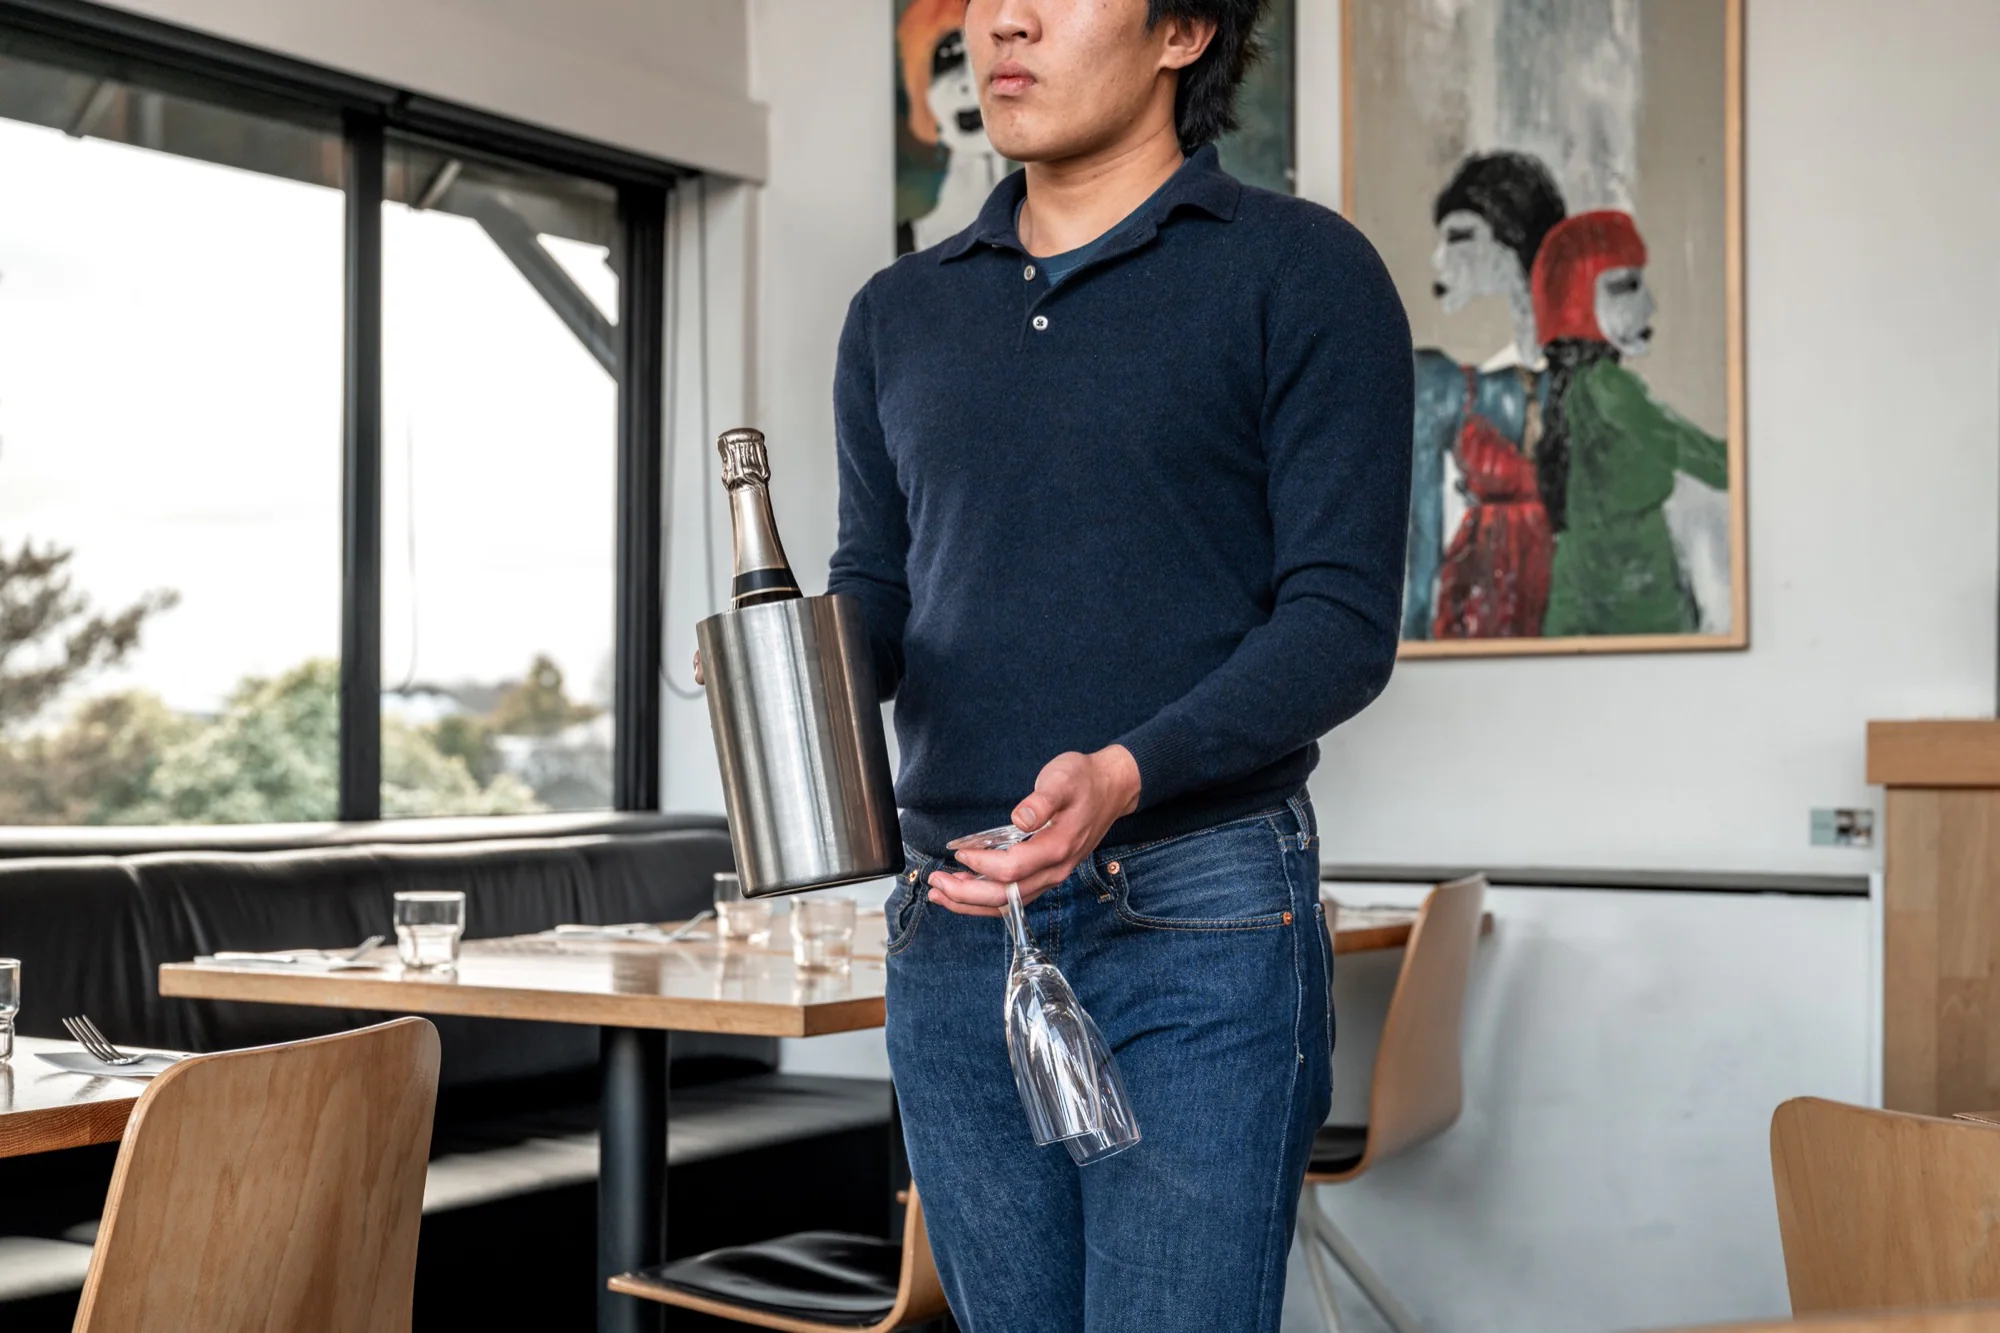
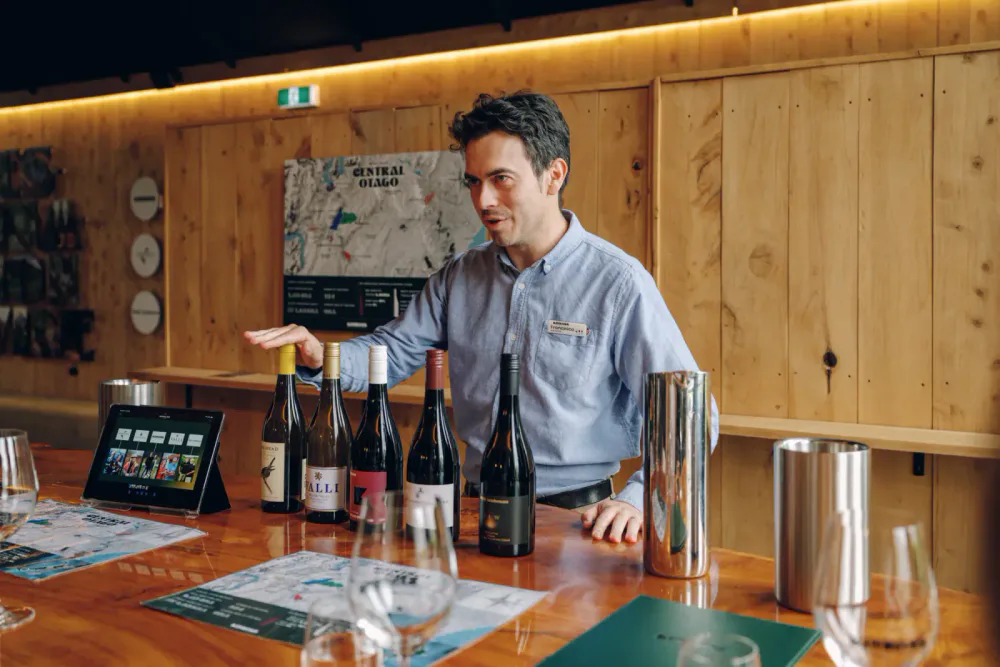
The people are often the strongest evidence that a restaurant knows what it is doing. They also make the business specific. A plate can be copied; the team, rhythm and way of hosting cannot.
Useful coverage may include:
- the chef or kitchen team preparing real dishes;
- hands at the pass, plating, checking and finishing;
- front-of-house briefing and room preparation;
- a bartender, barista or sommelier at work;
- environmental portraits in the place each person works;
- owners and managers without forcing a formal corporate pose;
- small interactions that show attention and competence.
These frames should not compromise safety or stop the kitchen at the wrong moment. Agree on access, clothing, clean work areas and any no-go parts of the operation before service begins.
6. Service and lived experience
Food photography shows what is served. Restaurant photography also needs to show what it is like to be served there.
Plan a small number of believable service moments:
- greeting or seating guests;
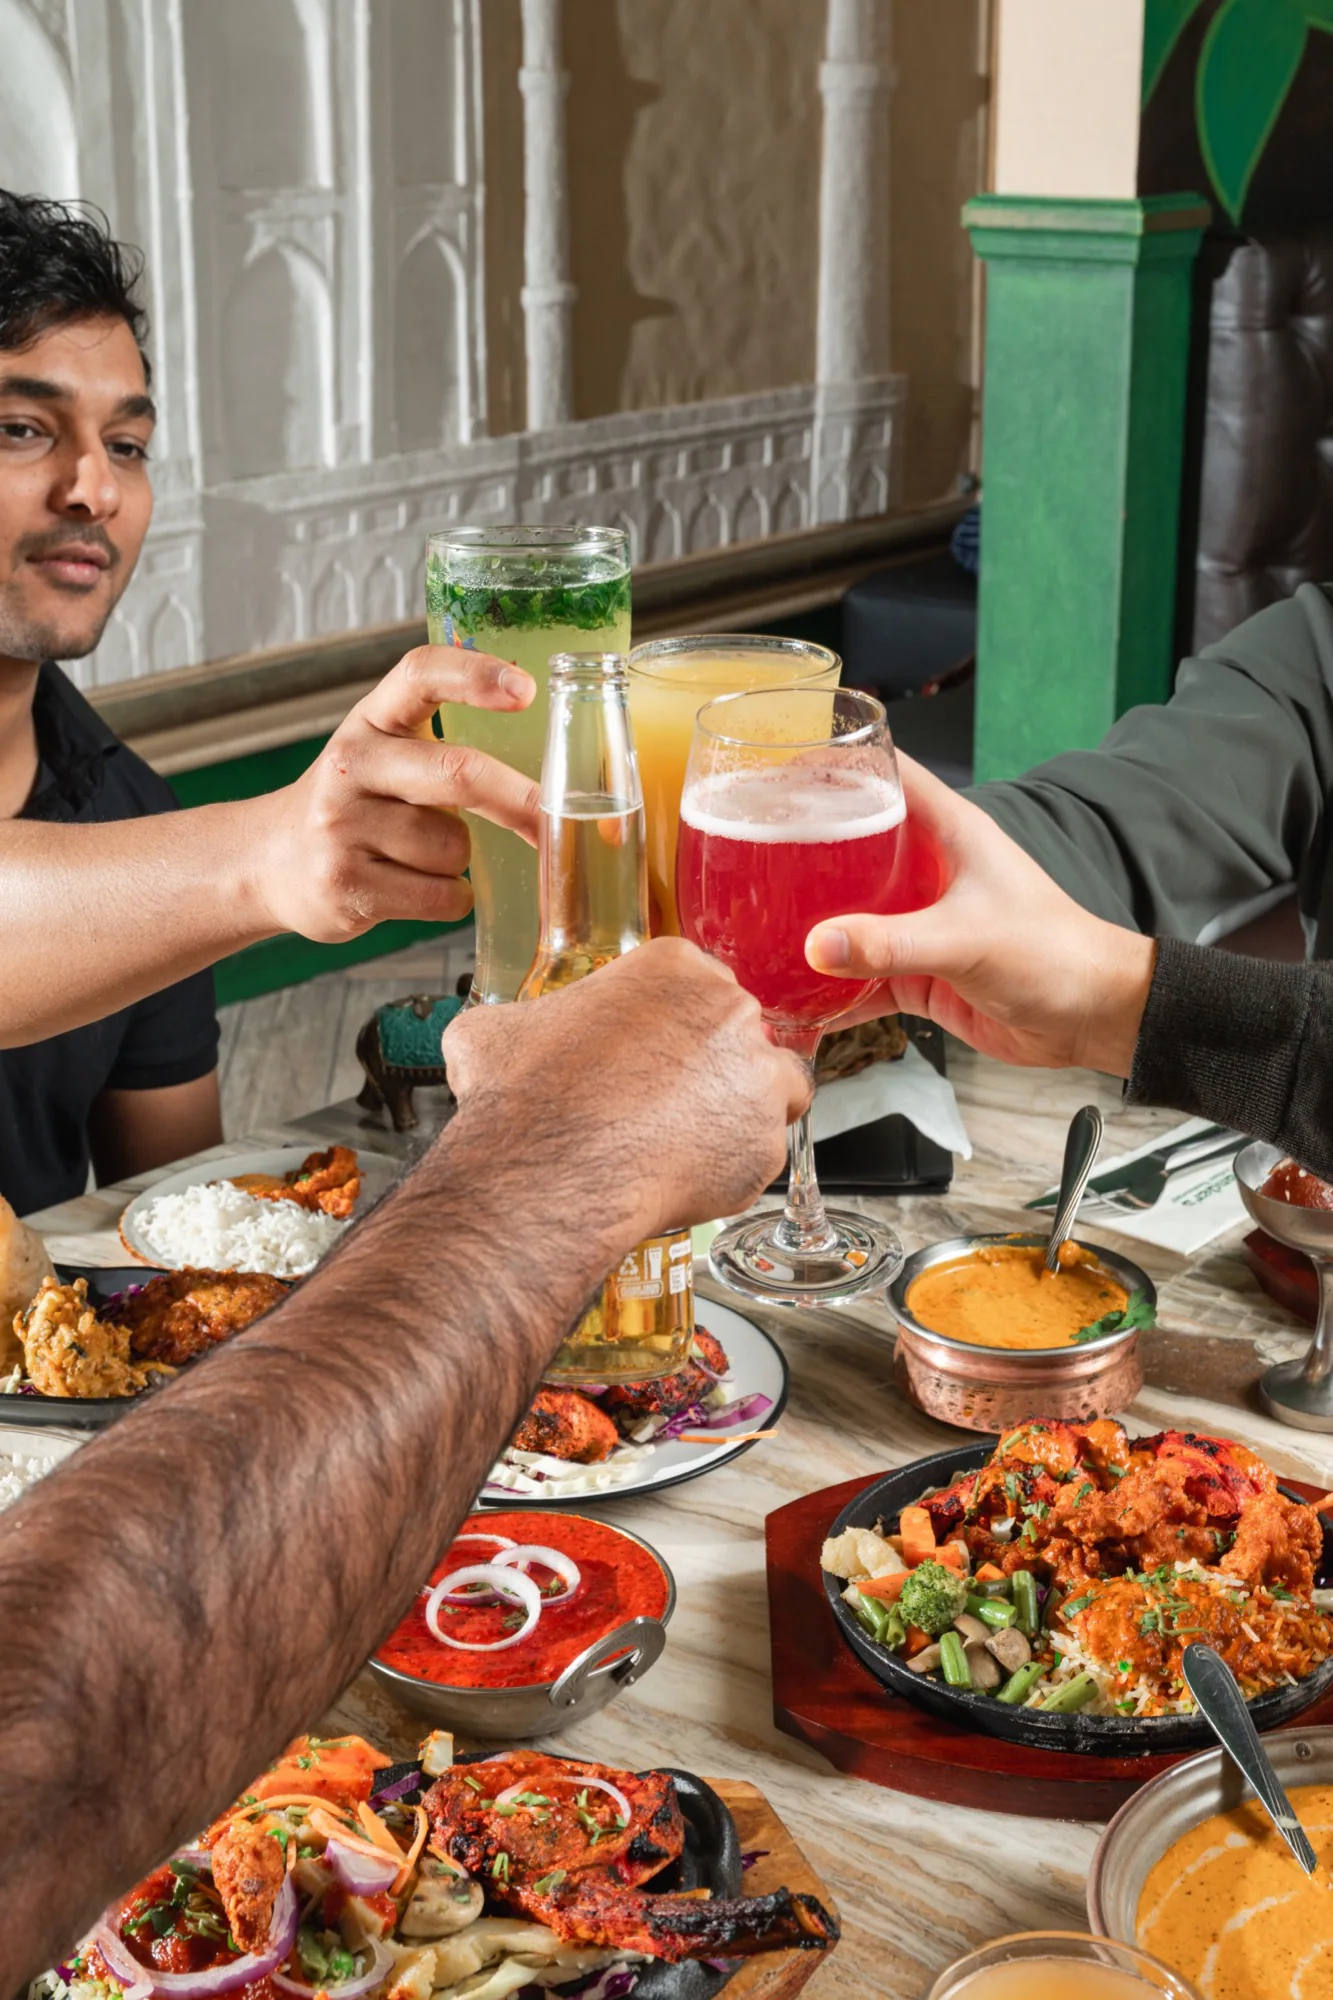
- a dish arriving at the table;
- wine or water being poured;
- a shared plate being passed;
- conversation and natural reactions;
- the table part-way through a meal rather than permanently untouched;
- the room working at an appropriate level of occupancy.
Direction may still be necessary. The difference is that direction should make the real experience easier to see, not turn diners and staff into props. Use people who understand how the images will be used, and build enough time for a moment to settle.
7. Details and supporting frames
Details give designers and marketers quieter material to work with. Photograph them selectively:
- menus, place settings and table texture;
- signage and recognisable brand elements;
- ingredients with a real connection to the menu;
- equipment or processes distinctive to the restaurant;
- lighting, artwork and architectural details;
- takeaway packaging as customers receive it;
- small moments that help sequence a page or story.
Avoid collecting details simply because they look decorative. A useful supporting image should locate the restaurant, explain the work or give a layout breathing room.
One library, four different channel requirements
The same shoot can supply several channels. The same file often cannot.
Website
Website images need compositional flexibility. A homepage banner may need a wide frame with quiet space for a heading. A menu page benefits from clear dish coverage. An about page needs people and process. A booking page may need the room in use.
Ask the website designer—or inspect the design—before the shoot. Record the important aspect ratios and whether text sits on the left, right or centre. “We can crop it later” works only when the original composition leaves somewhere sensible to crop.
Google Business Profile
Google separates cover, logo and general business photographs, and says that selecting a cover does not guarantee it will always appear as the first image. The wider library therefore matters.
Its current guidance asks for focused, well-lit photographs without significant alteration or excessive filters. It specifically identifies exterior, interior, product, at-work, food-and-drink and team photographs. For several of those categories, Google suggests at least three useful images.
That recommendation is a coverage guide, not a published ranking formula. Upload photographs because they help customers recognise and judge the restaurant—not to hit an invented SEO quota.
Google currently recommends JPG or PNG files, between 10 KB and 5 MB, with 720 by 720 pixels as its recommended resolution and 250 by 250 as the minimum. Check the current Google Business Profile photo guidance before preparing a final upload batch.
Delivery platforms
Delivery item images are catalog images. They must set an accurate expectation for a specific order.
Uber’s current merchant guidance distinguishes storefront cover photographs from item photographs. It asks item images to represent one actual menu item, remain centred, avoid text and watermarks, and exclude people other than hands. Its recommended item ratio is between 5:4 and 6:4. Cover images follow a separate specification.
DoorDash likewise says an item photograph should show exactly what is included, make the real portion clear and avoid combining separately sold items into one hero image. Its current item guidance uses a landscape 16:9 format and distinguishes item, carousel and header photographs.
Those two requirements alone show why “one food shot for everything” is a poor brief. Build platform crops deliberately and verify the current Uber catalog guidelines and DoorDash merchant guidance before uploading. Platform rules change.
Kerosene’s separate food delivery app photography guide covers the physical preparation and working space required for a platform-style menu shoot.
Press, campaigns and ongoing marketing
Press requests tend to arrive with little time and very specific gaps: a horizontal exterior, a portrait of the owner, the chef working, a signature dish, or a clean image with a usable caption. Social publishing needs vertical and square options, but it also benefits from sequences rather than endless isolated plates.
Prepare a small press edit with factual filenames, captions, photographer credit and usage guidance. Keep the larger library organised by subject rather than by the week it was posted.
How many photographs does a restaurant need?
There is no responsible universal number. A six-seat bar with a tight menu does not need the same library as a hospitality group with several rooms, dayparts and ordering channels.
Calculate coverage from requirements:
- List the channels.
- List the subjects each channel needs.
- Mark subjects that require more than one orientation.
- Mark dishes that need both catalog and brand treatment.
- Add the people, process and venue coverage that will remain useful after the menu changes.
- Remove repetitions that do not perform a distinct job.
As a practical starting point, a small single-site restaurant often finds more value in a considered library of roughly 40–70 varied final images than in hundreds of near-duplicates. That is a scoping range, not a target. A delivery catalog, multi-location group, major launch or complete menu replacement can require substantially more.
The quote should describe coverage and uses, not promise a large number for its own sake.
Plan orientations before the camera comes out
For every priority scene, decide whether the business needs:
- horizontal coverage for website banners, listings and press;
- vertical coverage for mobile layouts, stories and reels covers;
- square-safe compositions for profiles and grid placements;
- negative space for text or booking controls;
- a close crop and a contextual wider view;
- a version with people and one without.
This does not mean mechanically repeating every photograph six times. It means identifying the expensive-to-recreate moments—a full table, fresh cocktail, busy service or chef at the pass—and making the necessary variations while they exist.
A shoot-day sequence that respects service
A restaurant shoot becomes inefficient when dishes, rooms and people are requested in a random order. A calmer sequence is:
- Exterior and empty spaces. Photograph clean rooms before equipment cases, staff bags and early guests appear. Return later for dusk if required.
- People and preparation. Cover briefing, prep and environmental portraits while the kitchen is building toward service.
- Priority food and drinks. Work from a pre-agreed list so ingredients, plates and garnishes are ready. Photograph short-lived items immediately.
- Service actions. Capture plating, the pass, pouring and table delivery as the operation comes to life.
- Guest experience. Use invited participants or clearly informed guests. Allow the table to behave like a table.
- Live atmosphere and final gaps. Revisit the room once it is working, then check the shot list before packing down.
There is no virtue in forcing every stage into live service. Some restaurants are best photographed through a short controlled session followed by a restrained documentary window. The schedule should protect both the images and the business.
Permissions, privacy and usage belong in the brief
People in commercial photographs should understand what is being made and how the business intends to use it. That includes staff, invited participants and recognisable customers.
New Zealand’s Office of the Privacy Commissioner says a business collecting identifiable images needs a lawful purpose and should make people aware that the image is being collected and why. A 2025 case note concerned an employee who understood a photograph to be for internal use and later discovered it in marketing. Clear explanation and recorded permission are far easier than trying to repair that misunderstanding later. See the Commissioner’s guidance on recording people.
The photography agreement should also state where the restaurant may use the finished work, for how long, in which territory, and whether third parties such as delivery platforms, publications, designers or franchisees are included. The Intellectual Property Office of New Zealand notes that using somebody else’s photograph commonly requires permission and that photographic rights can be licensed. See IPONZ guidance on copyright permission.
This is practical planning, not legal advice. When usage or privacy is complex, obtain advice appropriate to the business.
The one-page restaurant photography checklist
Before the shoot
- List every website page, profile, platform and campaign the images must serve.
- Confirm the menu items, drinks, people and spaces that matter most.
- Separate delivery catalog requirements from brand photography.
- Record essential horizontal, vertical and square-safe compositions.
- Confirm opening hours, prep timing, access, parking and the service window.
- Prepare clean menus, glassware, cutlery, linen, packaging and uniforms.
- Confirm ingredients, garnishes and backup portions for priority dishes.
- Tell staff and participants why they are being photographed and where the images may appear.
- Agree on photographer access, food-safety boundaries and restricted areas.
- Put usage, delivery format, credit and third-party needs in writing.
Before the photographer leaves
- Exterior and entrance covered.
- Each important room covered empty and, where useful, in service.
- Signature dishes and menu breadth covered.
- Drinks and relevant service rituals covered.
- Chef, front-of-house and specialist roles represented.
- Preparation, plating, delivery and guest experience covered.
- Required orientations and negative-space versions checked.
- Seasonal or time-sensitive material clearly identified.
- Names, dish details and caption information recorded while they are fresh.
After delivery
- Keep the master delivery separate from social-media exports.
- Organise by subject and use, not only by date.
- Create a press-ready selection with captions and credits.
- Upload channel-specific crops rather than relying on automatic cropping.
- Retire photographs when dishes, portions, rooms or staff materially change.
- Review platform specifications before each major upload.
How to brief a restaurant photographer in Christchurch
Send more than a request for “some food and atmosphere shots”. A useful enquiry includes:
- the restaurant and location;
- the reason for the shoot;
- launch, menu or campaign dates;
- the complete list of channels;
- priority dishes, drinks, people and spaces;
- whether delivery-platform item images are included;
- required orientations or an existing website design;
- access, preparation and service timings;
- who needs permission and who approves the final work;
- intended usage and any third-party distribution.
Christchurch timing matters. Winter daylight, an evening exterior and the point at which the room begins to feel occupied may need separate windows. A photographer can plan around those constraints when they are part of the brief rather than discovered on arrival.
Kerosene provides restaurant and hospitality photography in Christchurch and across the South Island, covering food, drink, people, service, space and atmosphere as one working library. The broader commercial photography process explains planning, shoot day, delivery and usage. If you already know what the images need to do, send the brief.