Industry Guide
How to prepare a restaurant for a professional photoshoot
A practical timeline for preparing the brief, kitchen, dining room, people and food—so shoot day stays useful and service stays intact.
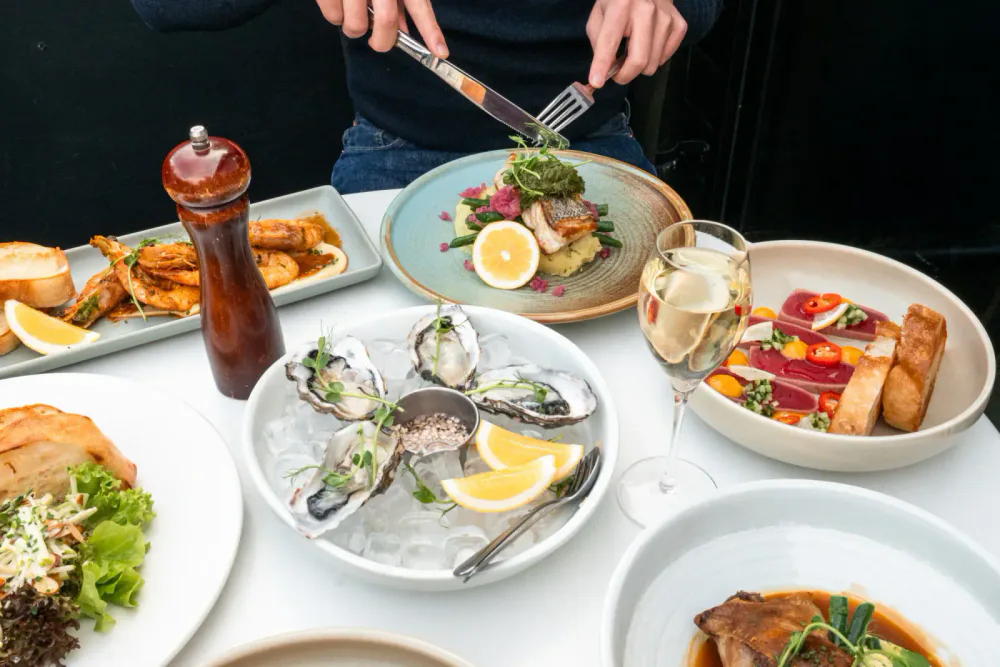
A restaurant photoshoot should not begin with somebody asking which dish is next.
By the time the photographer arrives, the important decisions should already be made: what the photographs need to do, which parts of the restaurant matter, who is available, when each dish can be plated and who can approve a frame without starting a committee meeting.
Preparation does not mean turning the restaurant into a studio or making the food more theatrical than it is. It means removing avoidable delays so the photographer can pay attention to light, timing, people and the details that make the place believable.
This is a practical restaurant photoshoot checklist for owners, managers, chefs and marketing teams. It covers the fortnight before the shoot through to the final frame, with a schedule that can be adapted to a small café, a busy dining room or a larger hospitality production.
What “ready for a photoshoot” actually means
A ready restaurant is not necessarily empty, spotless and silent. It is organised enough to be reset quickly, and the people involved understand what the day is for.
Before shoot day, you should be able to answer five questions:
- Where will the finished images be used?
- Which food, drink, spaces and people are essential?
- What must be photographed empty, controlled or during real service?
- Who makes decisions for the restaurant on the day?
- What work must continue normally while photography is happening?
If the first two are unclear, begin with the restaurant photography shot list. It works backwards from the website, Google profile, delivery platforms, press and campaigns rather than treating every photograph as interchangeable.
The aim here is different: to turn that list into a workable production.
Two weeks before: decide what the day must achieve
Two weeks is not a magic number. It is simply early enough for decisions to be useful rather than expensive.
Confirm destinations and crops
List the real destinations for the images. Include the exact website pages, booking platforms, delivery menus, Google Business Profile, press uses, advertising formats and printed material. If a new website or campaign layout already exists, share it.
The photographer can then plan horizontal and vertical versions, negative space for text, isolated menu photographs and wider scenes. Without that information, everyone is relying on the hope that a good photograph will crop into every shape later.
Reduce the shot list to priorities
Mark every requested frame as essential, useful or optional. Put the photographs that carry the business first: signature dishes, important dining areas, key people, recognisable arrival and the service moments customers need to understand.
Priority is more useful than a long menu order. If a dish is unavailable or a setup takes longer than expected, the schedule can lose an optional variation without losing the reason for the shoot.
Choose the right day and light
Start with the restaurant’s operating reality. Avoid a service the kitchen cannot interrupt. Check deliveries, prep, deep cleaning, maintenance and staff availability. Decide whether the shoot can happen while closed, before service, during a quiet service, or across two different periods.
Then consider what the venue needs to look like. A dining room known for evening atmosphere should not be covered only in flat midday light. An important courtyard or frontage may need a weather alternative. In Christchurch, winter daylight and a late-evening summer service can create very different schedules; choose the experience first, then the clock.
Name one decision-maker
One person should be able to confirm plating, styling, brand details and whether a frame is accurate. They do not need to stand beside the camera all day. They do need to be reachable and authorised to decide.
Feedback from an owner, chef, manager and agency can all be valuable during planning. On set, four separate approval paths slow the kitchen and produce contradictory changes.
Decide who will appear
List staff, owners and any guests needed in the photographs. Tell them where the images may appear, what they will be asked to do and how long they are needed.
The New Zealand Office of the Privacy Commissioner says a business should seek consent when someone is portrayed as a customer or photographed in their workplace for advertising. Use informed permission rather than assuming that being rostered on or sitting in a public dining room is agreement to become campaign material. Read the Privacy Commissioner’s current guidance and keep a written record appropriate to the production.
One week before: prepare the ingredients, room and people
This is the point to resolve physical details while there is still time to replace, repair or source something.
Finalise the food and drink sequence
The chef and photographer should agree on a rough running order, but the order should remain flexible enough for the kitchen. Group dishes where shared prep makes sense and identify anything with a very short photographic life: fried food, dressed leaves, melting desserts, foams, hot sauces, ice and delicate garnishes.
Do not cook the entire shot list in advance. Prepare components where appropriate, then finish and plate each dish when the set is ready. The Food Writers New Zealand food-styling handbook recommends confirming the shot sequence, checking location facilities and product availability, preparing what can be prepared ahead and staying one step ahead during the shoot.
For each priority dish, check:
- ingredients and realistic backup quantities;
- the correct plate, bowl, board or packaging;
- garnishes that genuinely belong to the served dish;
- any batch, resting, setting or thawing time;
- whether a trial plate is useful before the final one;
- allergens and separation requirements under the restaurant’s normal process.
Make a similar plan for drinks. Confirm glassware, recipes, ice, garnishes, bottles, labels and who can prepare each serve. A drink should not be mixed and left beside the set while lighting is still being built.
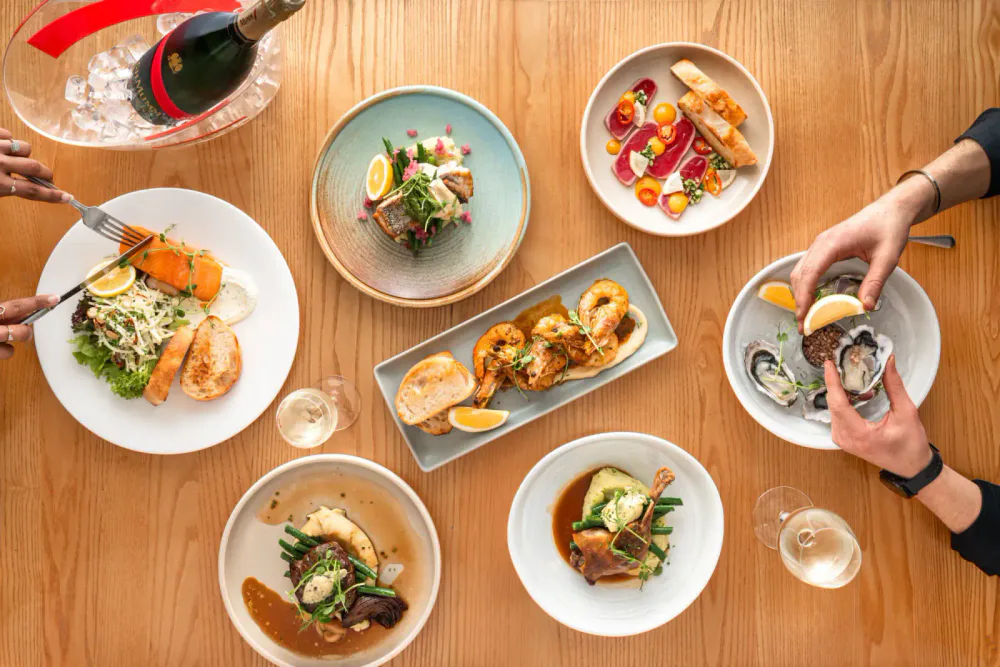
Audit tableware and small details
Count the matching plates and glasses needed for a table scene. Inspect them in good light. Chips, scratches, water spots, fingerprints and a cloudy wine glass are easier to solve before the day.
Collect only props that belong in this restaurant: menus, napkins, cutlery, candles, condiments and relevant ingredients. A prop should help explain the food or the place. It should not turn the table into a generic styling exercise.
Walk through the venue with the camera in mind
Look at the entrance, dining room, bar, pass, bathrooms visible from public areas and any exterior being photographed. Check:
- dead bulbs, mixed colour temperatures and flickering lights;
- marks on walls, windows, mirrors and reflective surfaces;
- menus, signs or pricing that will soon be out of date;
- stacked highchairs, delivery boxes, cleaning equipment and staff notices;
- bins, hoses, parked vehicles and temporary objects near the exterior;
- where furniture normally belongs and how it can be reset;
- access to power, water, parking, loading and a safe equipment area.
Do not remove every sign of use. A working restaurant should still feel like a working restaurant. Remove accidental clutter, then preserve the details that make the room specific.
Brief the team
Send a simple call sheet or message with the date, arrival time, likely finish, clothing, roles, parking and contact person. Tell the kitchen which dishes are essential and tell front of house which spaces need to remain available.
If normal service continues, agree on boundaries. The photographer should know where not to stand, the kitchen should know how a plate will be called, and staff should know when a real interaction can continue without waiting for the camera.
The day before: remove preventable problems
The day before is for confirmation, not creative reinvention.
- Recheck the priority list and final schedule.
- Confirm the photographer, chef, decision-maker and people appearing.
- Receive or source perishable ingredients and backups at the appropriate time.
- Wash and polish glassware, plates, cutlery and visible service equipment.
- Clean windows, mirrors, tables, menus, signage and the exterior entrance.
- Complete small maintenance and replace failed bulbs.
- Charge or prepare any restaurant-owned devices or props needed on set.
- Move unrelated stock and deliveries out of the planned shooting areas.
- Check the forecast if exteriors or outdoor service matter.
- Protect the booked time from meetings, trades and non-essential deliveries.
Food prepared for photography still sits inside the restaurant’s food-control system. Keep following the venue’s registered plan and the latest New Zealand Food Safety requirements. Current MPI guidance covers clean and sanitised work areas, separation, cold and hot holding, and limits on time outside temperature control. The current food-control resources remain the authority; the photographer should never ask the kitchen to override them for appearance.
Ninety minutes before: make the first frame possible
The photographer needs a clean working area before the first finished dish appears. Ninety minutes is a useful starting point for a modest restaurant shoot, not a universal allowance. Larger lighting setups, several rooms or video will require more.
Open and clear the shooting zone
Give the photographer access to the agreed space, power and equipment holding area. Keep fire exits, kitchen routes and customer walkways clear.
Lighting stands, cases and cables change how people move through a room. WorkSafe identifies trailing cables, boxes, bags, clutter and obstructed views as trip risks. Its slips, trips and falls guidance recommends tidy work areas and safe walkways. Decide cable routes and equipment boundaries before staff begin carrying hot plates through the space.
Reset the room once
Place furniture in its normal position, then make the deliberate adjustments needed for the selected frames. Check table alignment, chair spacing, curtains, blinds, menus, glassware and visible areas beyond the main subject.
Take phone reference photographs before moving anything substantial. They make the post-shoot reset faster and reduce the chance that tomorrow’s opening team inherits a mysterious new floor plan.
Use a stand-in before real food
A spare plate or neutral object can establish angle, focus, lighting and crop. The final dish should arrive only after the set is close to ready.
This is one of the simplest ways to protect freshness. It also gives the restaurant’s decision-maker a chance to confirm the overall direction before several dishes have been cooked.
Hold a five-minute briefing
Bring the photographer, chef, runner and decision-maker together. Confirm the first sequence, how dishes will be called, where finished plates go, which frames need approval and what will happen when service preparation becomes the priority.
Five useful minutes together are better than separate assumptions carried into the first hour.
During the shoot: keep the sequence calm
Plate only when the set is ready
The photographer calls for the dish. The kitchen finishes it. A runner carries it to the agreed position. The photographer makes the necessary views and the decision-maker checks accuracy where required.
Do not send the next three dishes because the kitchen has a clear bench. They will wait, deteriorate and crowd the set. A steady one-dish flow is usually faster than a queue of food that needs rescuing.
Keep the dish truthful
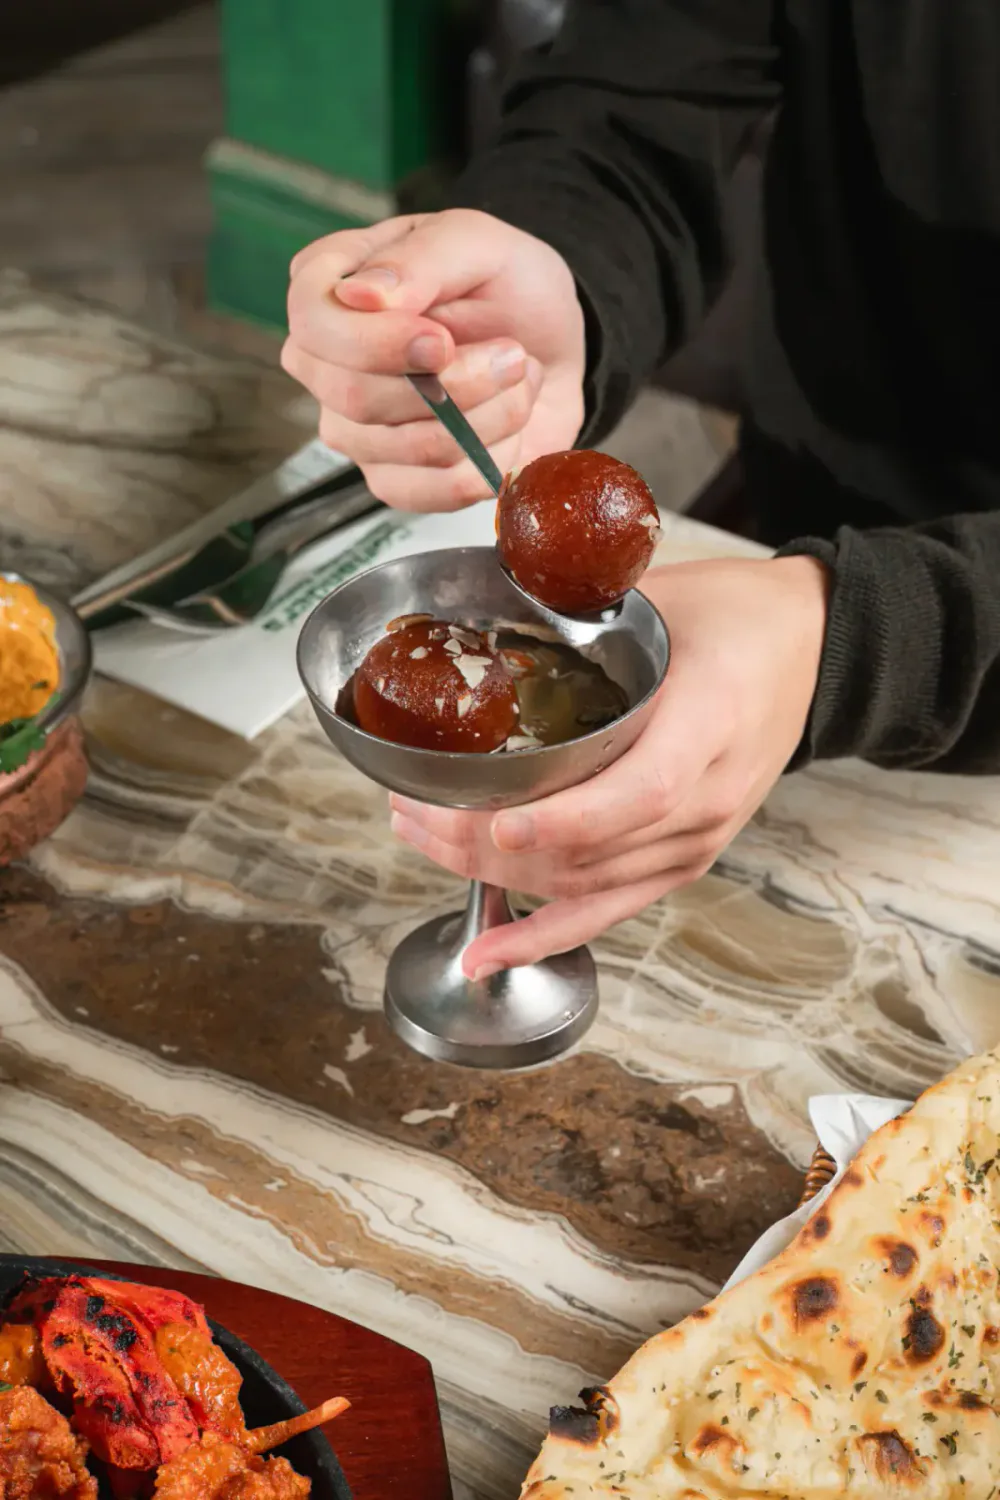
Clean a rim. Turn the plate so the intended front reads clearly. Replace a bruised herb. Those changes clarify the restaurant’s normal standard.
Adding ingredients that are not included, increasing the portion or rebuilding the dish into something a customer will never receive changes the promise. If a photograph is for an ordering menu, accuracy matters more than decorative excess.
Separate controlled scenes from live service
An empty interior, a single menu dish and a portrait can be built carefully. Real service works differently. Once guests arrive, the photographer should work around hospitality rather than asking the restaurant to work around photography.
Plan a transition point. Pack down unnecessary equipment, reduce cable runs and move from tightly controlled setups to documentary coverage. Let staff perform real tasks and give diners room to settle. Direction may still be used, but it should clarify a believable moment rather than stop the room every few minutes.
Approve in groups, not one opinion at a time
Review enough on set to catch incorrect plating, visible clutter, a missing hero dish or a brand problem. Do not attempt the final edit from the back of the camera.
If remote stakeholders must approve, define what they are approving and when. Waiting for a messaging thread after every plate makes fresh food and staff time carry the cost of indecision.
What not to do before a restaurant photoshoot
Avoid these common preparations:
- cooking every dish before the photographer has established the set;
- choosing dishes only because they are colourful rather than important;
- buying fashionable props that do not belong to the restaurant;
- deep-cleaning or moving furniture while equipment is being set up;
- changing plating on the day without the chef and decision-maker agreeing;
- asking unbriefed customers to behave as advertising talent;
- scheduling the shoot through a service the kitchen must prioritise;
- hiding every human trace until the venue feels unused;
- assuming the photographer can safely solve missing crops after delivery;
- treating retouching as a substitute for clean glassware, accurate food and a finished room.
Who is responsible for what?
Responsibilities vary by production, so put them in writing. For a straightforward restaurant shoot, the split usually looks like this.
The restaurant or agency
- define the business objective and image destinations;
- nominate the decision-maker;
- confirm menu, plating and brand accuracy;
- supply ingredients, drinks, tableware and restaurant-specific props;
- roster and brief staff;
- arrange informed permission for employees and guests appearing;
- maintain food-safety and workplace procedures;
- provide access and protect the agreed time.
The photographer
- turn the objective into a visual plan and schedule;
- advise on light, locations, sequence, crops and realistic timings;
- supply and safely position the agreed camera and lighting equipment;
- direct people and refine scenes without misrepresenting the restaurant;
- monitor technical quality and coverage;
- edit, organise and deliver the agreed files and usage.
Decide explicitly
Do not assume who is bringing specialist surfaces, linens, flowers, styling tools, ingredients, talent, a food stylist, an assistant or video equipment. A simple email that names each item is enough. Ambiguity is what becomes expensive.
The restaurant photoshoot checklist
Copy this section into the run sheet or print the page for the team.
Brief and schedule
- [ ] Final image destinations and aspect ratios confirmed
- [ ] Essential, useful and optional shots marked
- [ ] Empty-room, controlled-food and live-service windows separated
- [ ] Weather and daylight needs checked
- [ ] One restaurant decision-maker named
- [ ] Photographer, chef, runner and staff call times confirmed
Kitchen and bar
- [ ] Dish and drink sequence agreed
- [ ] Ingredients and realistic backups available
- [ ] Correct crockery, glassware and packaging assigned
- [ ] Short-lived dishes and drinks identified
- [ ] Prep, cooking and holding plan follows the venue’s food-control process
- [ ] Finished dishes will be called only when the set is ready
Venue
- [ ] Windows, mirrors, tables, menus and entrance cleaned
- [ ] Failed bulbs and small maintenance resolved
- [ ] Temporary clutter, bins and deliveries moved
- [ ] Furniture positions recorded before any reset
- [ ] Safe power, cable, equipment and walkway plan agreed
- [ ] Parking, loading, keys and alarm access confirmed
People and approvals
- [ ] Staff and guests know how the photographs will be used
- [ ] Written permissions arranged where appropriate
- [ ] Clothing and presentation guidance shared
- [ ] Brand, plating and must-have frames have a clear approval path
- [ ] Service remains the priority once customers arrive
Before wrap
- [ ] Essential list checked for omissions
- [ ] Exterior, people, detail and orientation requirements checked
- [ ] Any substitutions or unavailable dishes recorded
- [ ] Furniture and service areas returned to their original setup
- [ ] Delivery timing, file access and usage reconfirmed
A Christchurch restaurant photoshoot needs a local schedule, not a local cliché
Christchurch changes the logistics more than it changes the principles. Central-city loading, suburban access, a sheltered courtyard, coastal weather and a winter dining room create different production plans. The useful response is to scout or discuss the actual venue—not to apply one “Christchurch look” to every restaurant.
The same is true creatively. Prepare the room so its real character can be seen. Keep the features, people and habits that make it specific. The companion piece on why Christchurch restaurants need a sense of place explains why accurate local detail is more useful than generic polish.
The best-prepared shoot is rarely the most elaborate one. It is the one where the restaurant and photographer can concentrate on the work because the preventable questions have already been answered.
Kerosene provides restaurant and hospitality photography in Christchurch and across the South Island, planned around the food, people, service and space as one useful image library. The commercial photography process explains briefing, shoot day, delivery and usage. If a restaurant shoot is taking shape, send the brief and the practical constraints.